I hear this one all the time: women who have bought beautiful art, framed their favourite photos, ordered a print they love — and then left it leaning against the wall for six months because hanging it felt too risky. What if it goes up crooked? What if I put the nail in the wrong spot? What if I damage the wall?
Here's the truth: hanging wall art is one of the most beginner-friendly things you can do in your home. It requires almost no tools, it's reversible if you don't love where you put it, and the payoff is enormous. A bare wall goes from feeling unfinished to feeling intentional — and that shift makes your whole space feel different.
Let me walk you through exactly how I do it, so you can stop waiting and start styling.
What you actually need
Before we even talk about technique, let's clear something up: you do not need a lot of tools for this. Here's what I reach for every time:
- A hammer — any basic hammer works
- Picture hooks or finish nails — sized for the weight of your piece
- A level — a small torpedo level is perfect, or use a free app on your phone
- A tape measure
- A pencil
- Painter's tape (optional but helpful for gallery walls)
That's it. You can hang most artwork in your home with just those five or six items. If your piece is particularly heavy (think a large mirror or a thick framed canvas), you may also want a stud finder — but for most standard wall art, you don't need one.
The one rule that changes everything
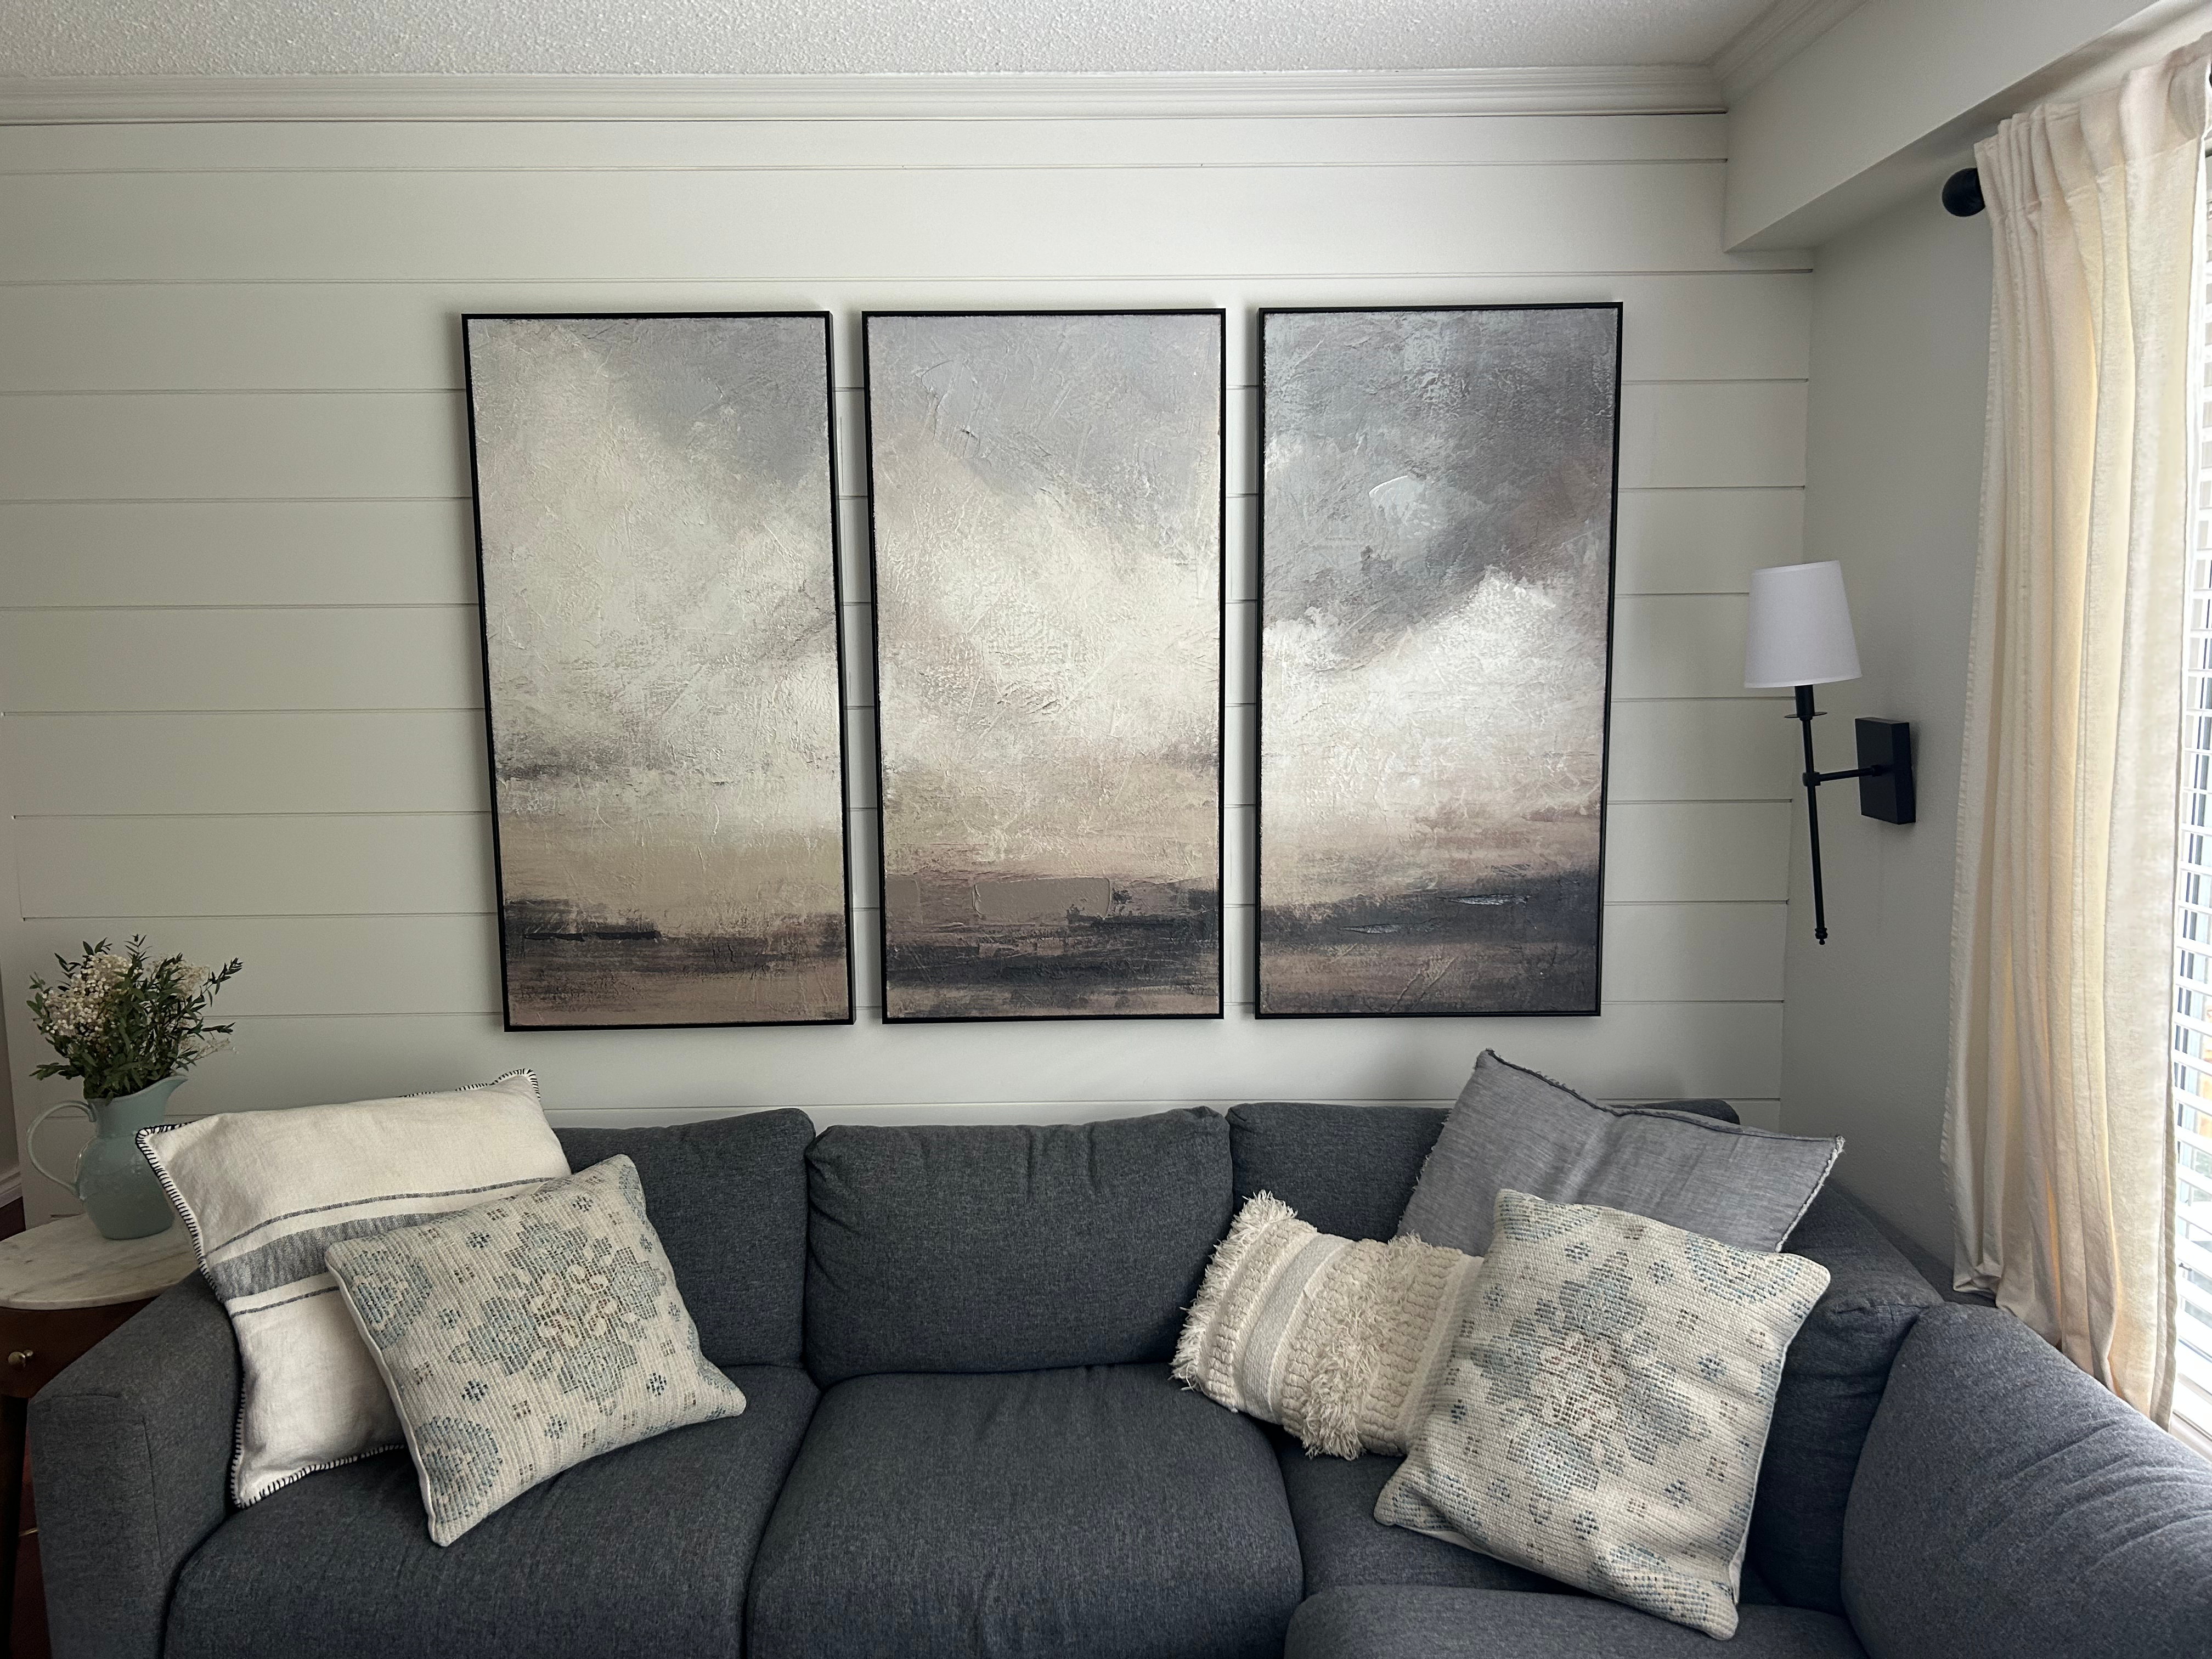
Here's the single most useful thing I can tell you about hanging art: the center of the piece should sit at eye level — which is typically 57 to 60 inches from the floor. This is the standard used in most galleries and professional installations, and it's the reason art in well-designed homes always feels "right" without you being able to put your finger on why.
"Measure once to find the center of the piece. That number — plus your eye-level height — tells you exactly where the nail goes."
Here's how to find the exact nail placement:
- Measure the height of your frame
- Divide that number in half — this is the center of the frame
- Measure from the top of the frame down to the hanging wire or hook (pull the wire taut to get an accurate measurement)
- Add your eye-level height (57–60 inches), subtract the wire measurement, and that's where your nail goes
It sounds more complicated than it is. Once you do it once, it becomes second nature.
The paper template trick for gallery walls
If you're hanging multiple pieces together — a gallery wall, a set of matching prints, a collection of frames — this trick will save you a lot of patched holes.
Trace each frame onto kraft paper or newspaper and cut out the templates. Use painter's tape to stick them directly on the wall, arranging them until you love the layout. Step back, live with it for a day if you need to, adjust. Only once you're happy do you nail through the templates to mark your spots.
This approach costs you nothing but time, and it completely eliminates the guesswork. It's the method I use on every gallery wall install, and it works every single time.
Heavier pieces and what to do about them
For pieces under about 20 lbs, a standard picture hook rated for that weight is all you need — no stud required. For anything heavier (large mirrors, framed canvases over 24 x 36 inches, shelves that will hold things), you have two options:
- Find a stud — use a stud finder or knock on the wall and listen for the solid sound (hollow sounds = no stud, solid sounds = stud). Studs are typically 16 inches apart.
- Use drywall anchors — these expand behind the drywall and can hold significantly more weight than a bare nail. The package will tell you the weight rating.
When in doubt, I always go for the anchor. The extra minute it takes is worth the peace of mind.
What about the holes after?
This is the fear that holds more people back than any other, and I want to address it directly: small nail holes are incredibly easy to patch. A tiny bit of lightweight spackle, a dab with your finger, let it dry, sand lightly, touch up with paint. Ten minutes, and you'd never know the hole existed.
Don't let the fear of a fixable problem stop you from making your home beautiful. That hole is never as permanent as it feels.
My honest advice
Just hang the thing. Put it up, step back, and see how it feels. Art can always be moved — but the blank wall stays blank until you do something about it. Most women who have gone through my in-home sessions come in nervous about putting the first nail in and leave surprised at how fast the space transformed once they stopped overthinking it.
Your home doesn't need to be perfect to feel beautiful. It just needs to feel like you live there.
— Sheri Walker · South Surrey, BC