How to Patch a Small Hole in Drywall (Without losing your mind)
- Sheri Walker

- Jul 19, 2025
- 3 min read
Updated: Oct 6, 2025
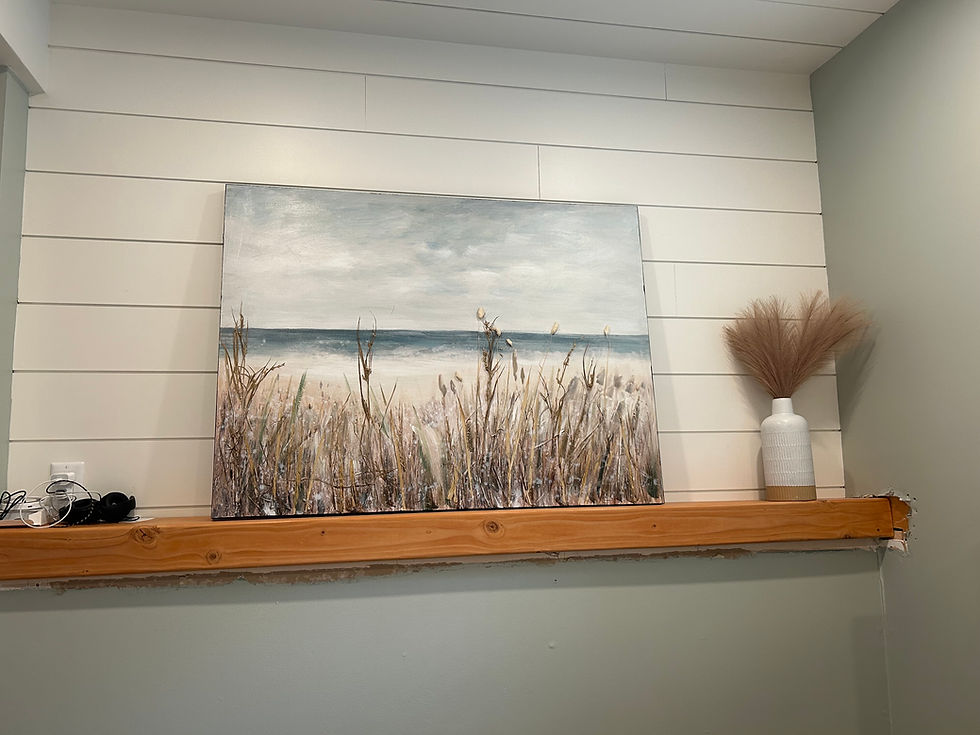
Since we did our basement reno this past fall, we have had a 3.5" by 4.5" hole in our drywall that has been bugging us and some sanding under the wooden beam we installed in our master bedroom. Tackling it has been on the top of my summer to-do list and I decided to get going on it this past weekend!

What You’ll Need
Small piece of drywall (cut from scrap or a repair patch kit)
Drywall saw or utility knife
Mesh tape or paper tape
Joint compound (aka drywall mud)
Drywall knife (4" and 6" or 10")
Sanding sponge or sanding block
Optional: 1x2" scrap wood (for bracing the patch)
Primer and matching paint
🛠️ Tip: You can grab most of this in a pre-made wall repair kit if you don’t want to hunt down individual items.
Step-by-Step: How I Patched a 3.5” x 4.5” Hole in the Wall
1. Clean Up the Hole
First, I squared off the hole using a utility knife and small drywall saw. Clean edges are easier to patch than jagged ones, so don’t skip this step. I ended up with a nice little rectangle to work with.
2. Brace the Hole (If Needed)
The hole I needed to fill had a wood backing already, but if the hole you have doesn't have wood for you to drill into cutting one to size or slightly smaller is a smart idea.
3. Cut and Fit the Patch
Next, I cut a piece of drywall to the exact size of the hole. This part is a little like fitting a puzzle piece: it should sit snugly without forcing it.
Tip: You can cut drywall with an exacto knife by scoring each side and breaking it along the line you scored.
4. Tape the Seams
I skipped this step and I regret it. I figured since it was such a small amount that just mud would be sufficient but in actuality it was harder to smooth out edges and defintelty caused some extra sanding and mudding. My advice: apply mesh drywall tape around the edges as this helps prevent future cracking and gives the mud something to cling to.
5. Apply Joint Compound
I applied three layers of joint compound:
First coat: Just enough to cover the tape and hold it in place
Second coat: A wider, smoother layer to feather out the edges
Final coat: A super thin feather coat with a wider drywall knife to blend it seamlessly into the wall
I let each layer dry completely (about 12 - 24 hours, depending on humidity) and sanded lightly between coats.
6. Sand, Prime, and Paint
Once the final coat was dry, I gave it a quick sand with a fine-grit sponge. Then I primed the patch before painting so it wouldn’t show through with a different sheen.
A little paint touch-up, and that wall looked good as new.
What I Learned
Don't skip drywall tape even for such a small space
Drywall mud shrinks as it dries don’t be surprised if you need a third coat.
Use a wider knife for your final coat it helps with that barely-there transition.
Always prime your patch before painting! Skipping this step can lead to flashing (a dull, visible spot even with color-matched paint).
3 Things Not to do when patching drywall
Final Thoughts
Patching drywall isn't glamorous, but it’s incredibly satisfying. It’s one of those small wins that makes your space feel finished again and gives you a boost of DIY confidence.
If you’ve got a small hole staring you down, don’t wait. Grab a patch kit and go for it. And if you’re already knee-deep in drywall dust - I see you. You’ve got this.
Have questions about your own repair project? Drop them in the comments or send me a message- I’m happy to help!
.png)


Comments